

If you're a developer using Cursor IDE who works with Figma designs, this guide will transform your workflow. The Cursor MCP Figma integration uses Model Context Protocol to give Cursor direct access to your design data, dramatically improving code generation accuracy.
Why Cursor MCP + Figma Is the Perfect Combination
When Cursor has direct access to Figma design data through the MCP server:
- Superior accuracy: The Cursor MCP Figma connection produces pixel-perfect implementations
- Massive time savings: What used to take hours of manual coding now happens in seconds
- Fewer communication gaps: No more misinterpreted designs or back-and-forth with designers
- Better code quality: Clean, optimized code that perfectly matches the Figma design intent
The Figma MCP server in Cursor enables a seamless bridge between design and development that traditional methods simply can't match.
See Cursor MCP Figma Integration In Action
Watch this video demonstration of how the Cursor MCP transforms Figma designs into functioning UI components:
Video demonstration showing how to transform Figma designs into code using Cursor's MCP integration
How the Figma-Cursor MCP Integration Works
The MCP (Model Context Protocol) integration creates a direct pipeline between Figma and Cursor:
- Configure the Figma MCP server in Cursor with your Figma API token
- Launch Cursor's composer in agent mode
- Paste a link to any Figma file, frame, or component
- Ask Cursor to implement the design
The MCP server automatically handles all the complexities of the Figma API, extracting only the most relevant layout and styling information. This filtered context allows Cursor to generate remarkably accurate code without being overwhelmed by unnecessary design metadata.
Setting Up the Figma MCP Server in Cursor: Step-by-Step Guide
Step 1: Get a Figma Access Token
First, you'll need a Figma access token:
-
Log in to your Figma account and click on the settings button in the top-right corner
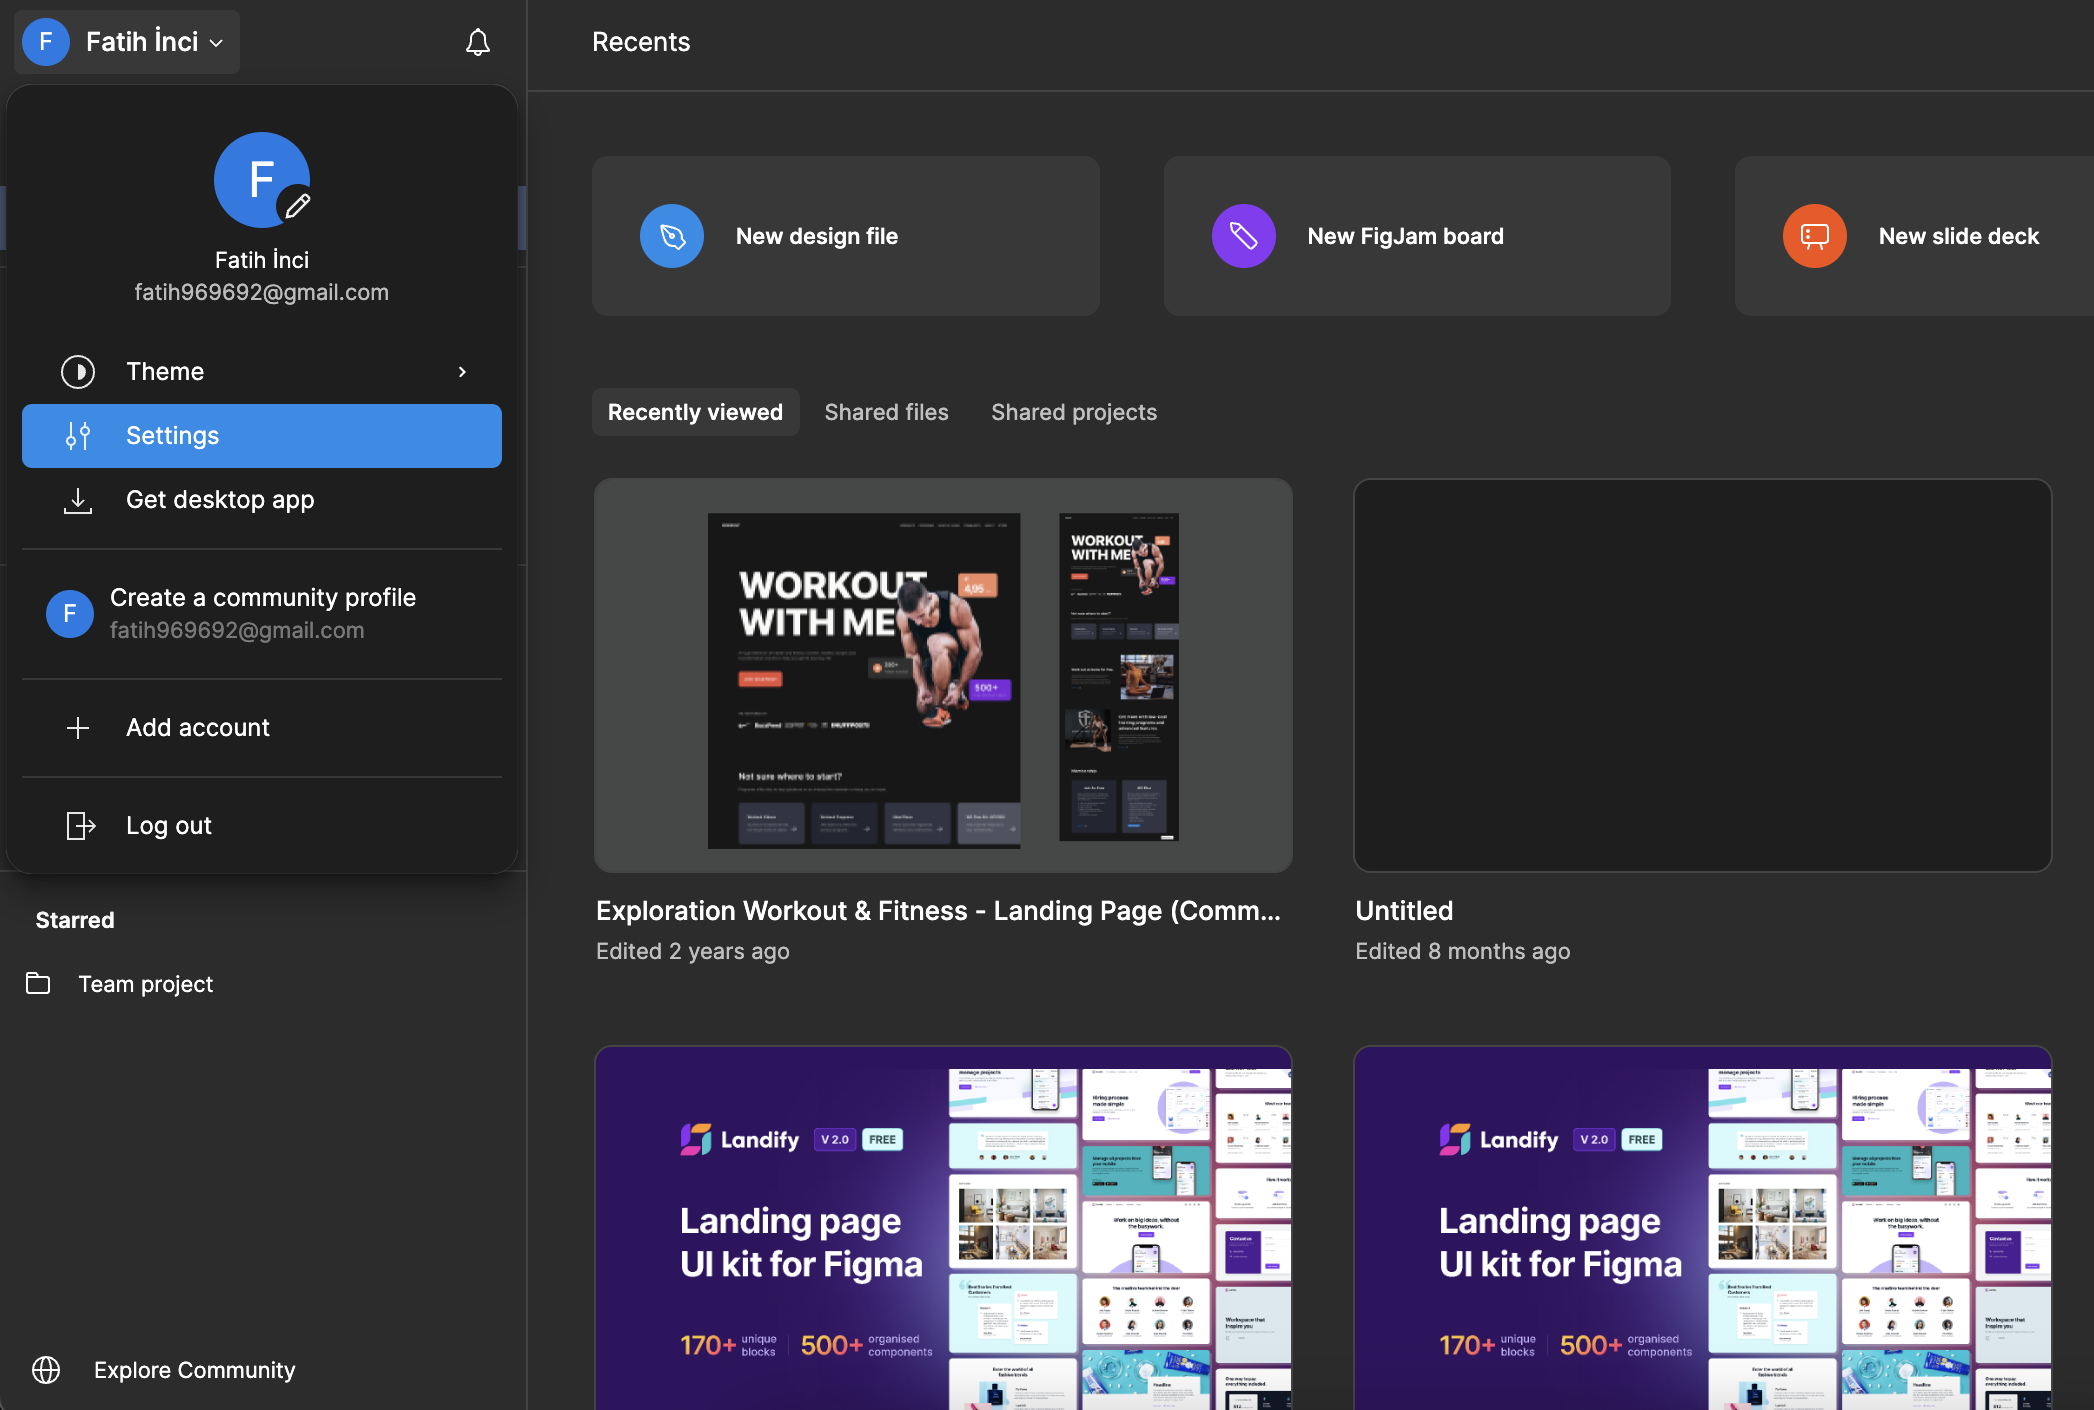
-
Navigate to the Security tab
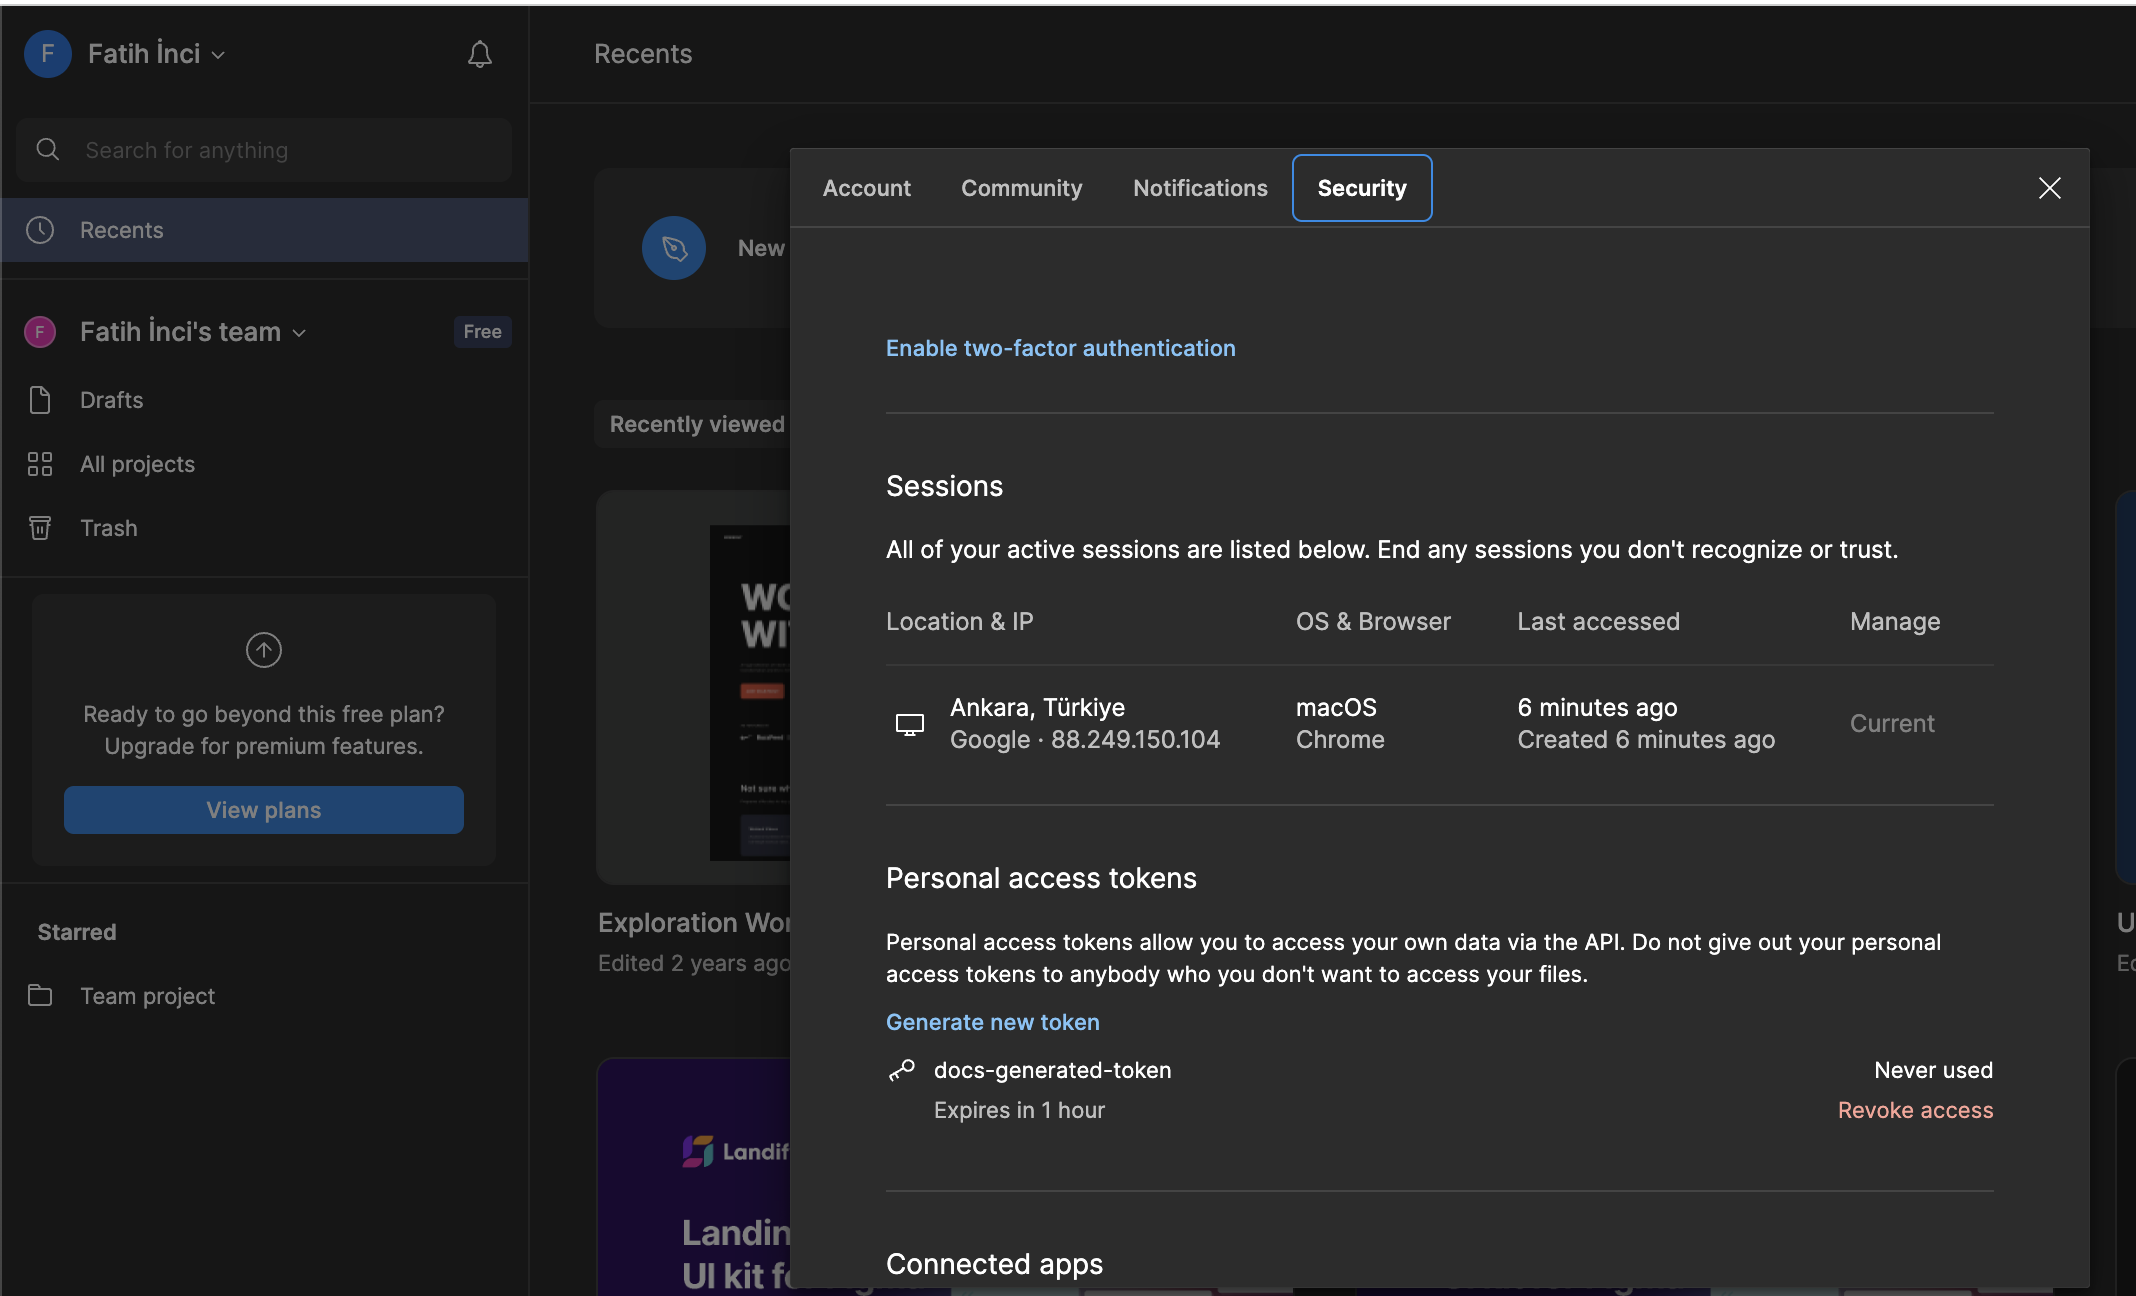
-
Scroll down to the Personal Access Tokens section and click "Generate new token"
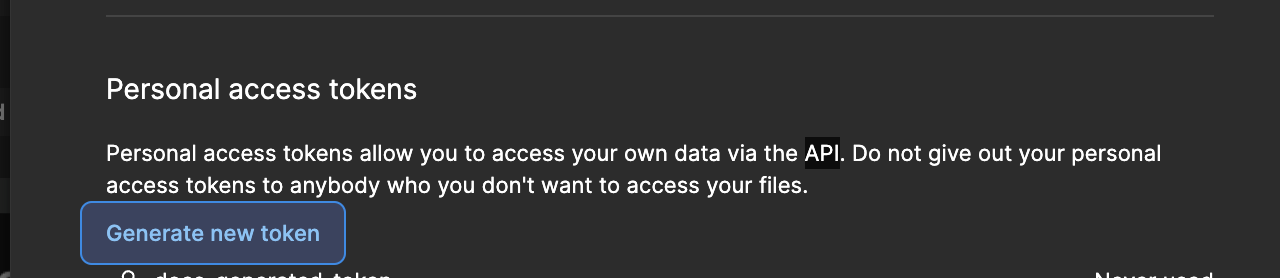
-
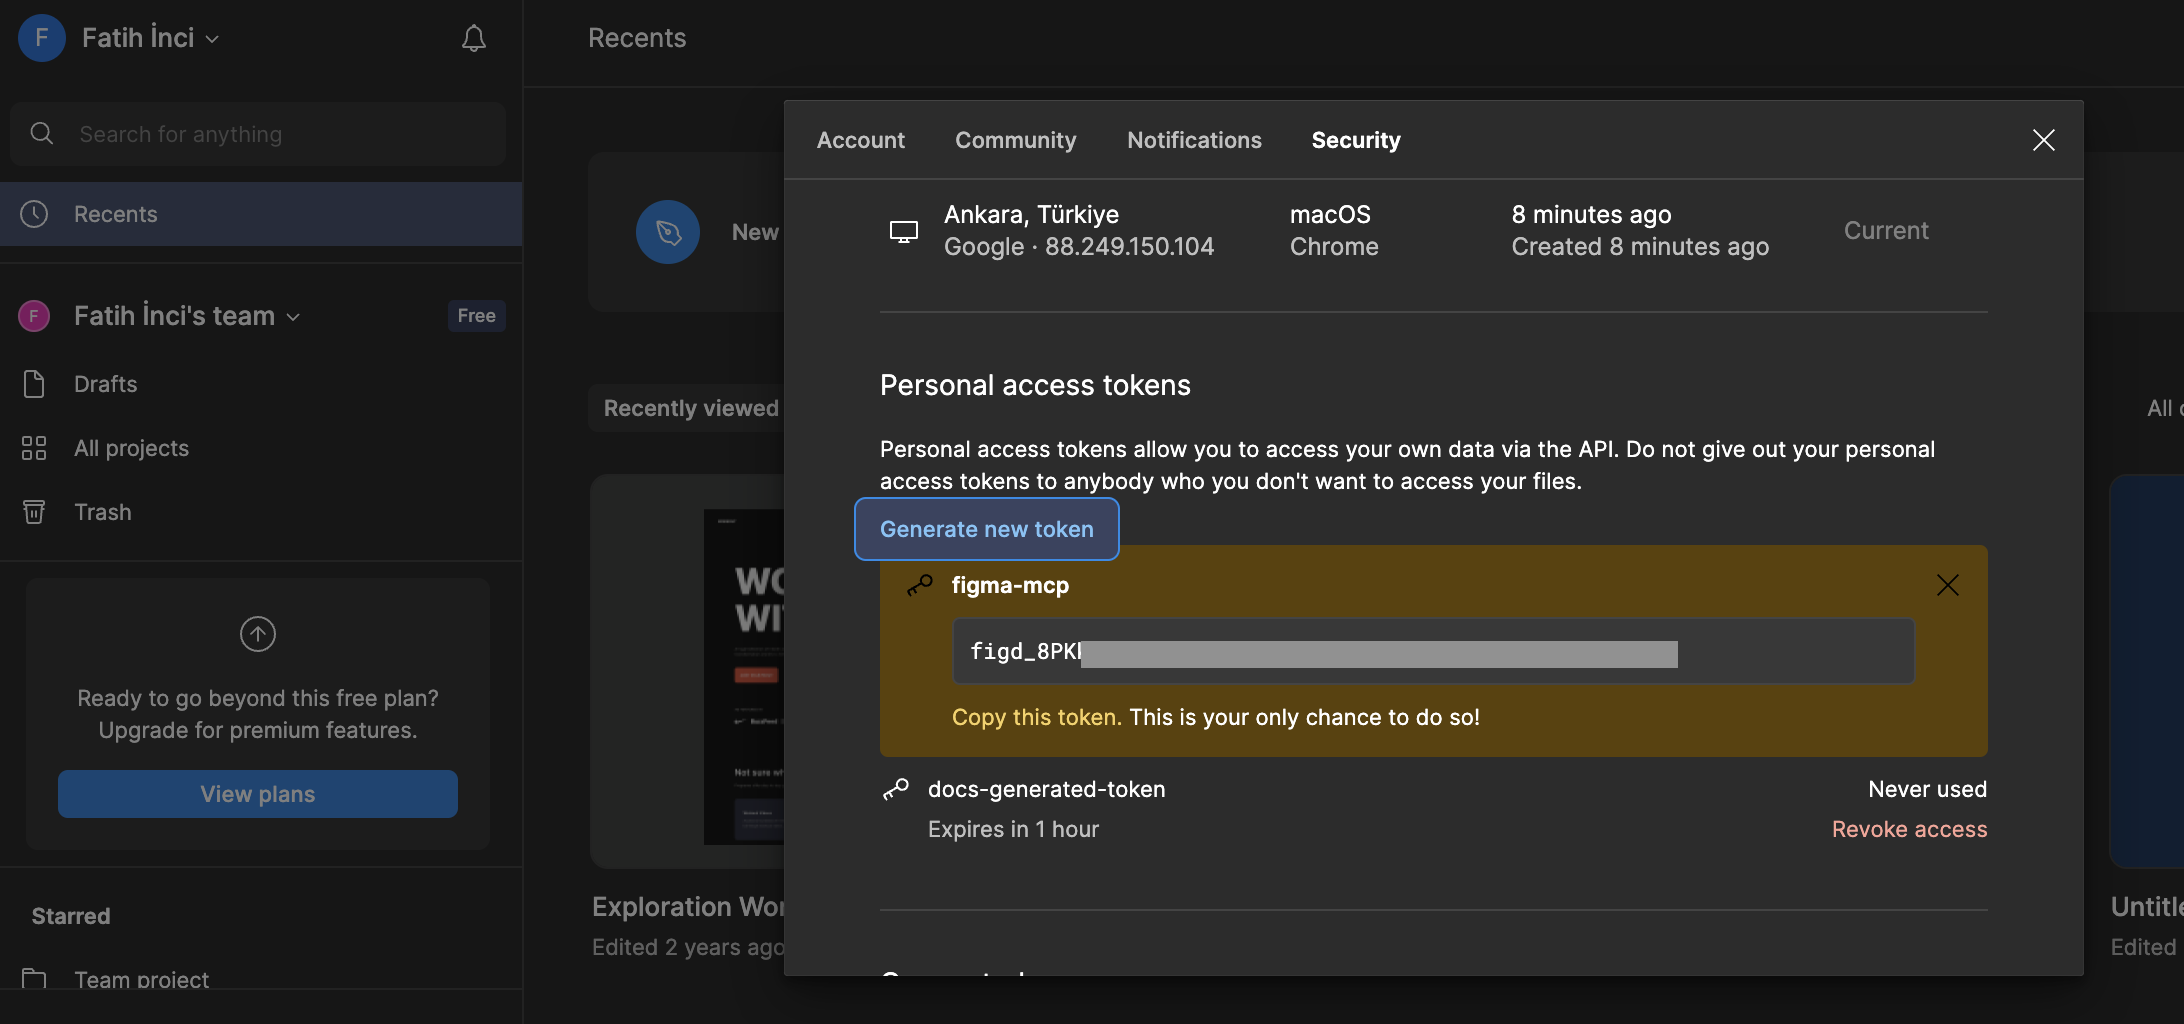
Name your token (e.g., "Cursor MCP") and click "Generate token"

-
Copy your newly generated token - make sure to save it somewhere secure as it won't be shown again
Step 2: Configure the Figma MCP Server in Cursor
To set up the Figma MCP server connection:
-
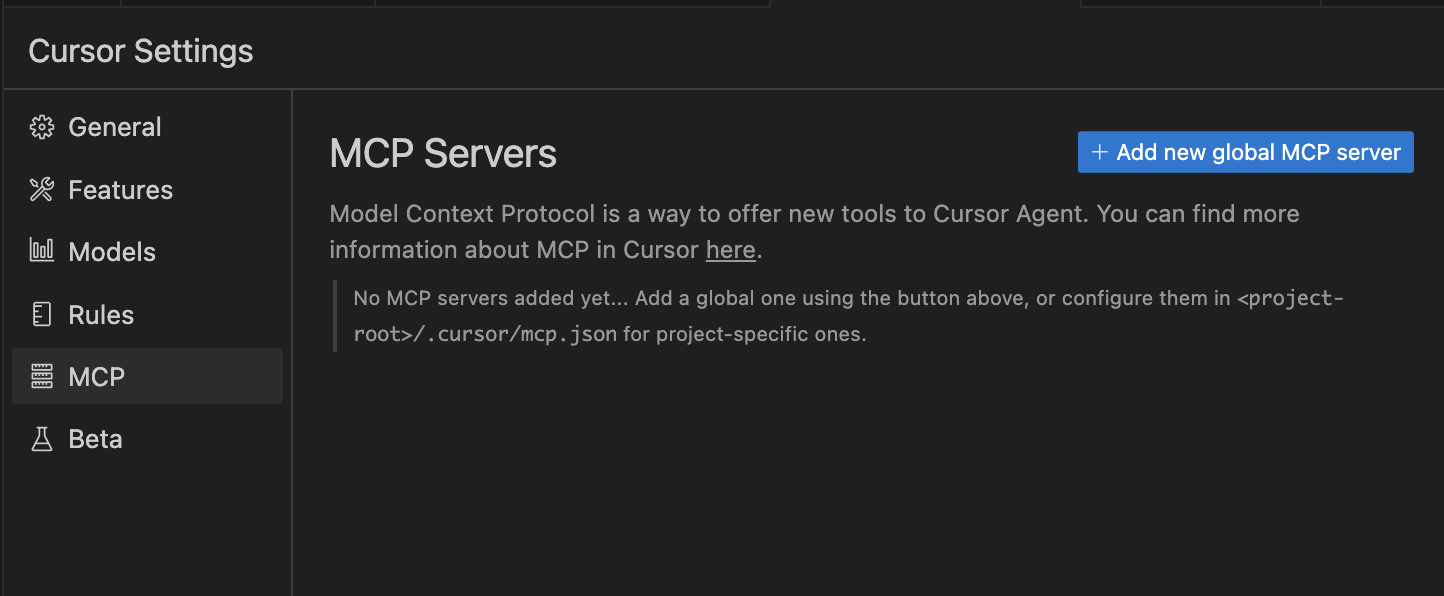
Open Cursor's Settings
-
Navigate to the MCP tab
-
Click the "Add new global MCP server" button
-
Copy the following JSON configuration to your
~/.cursor/mcp.jsonfile and replace<your-figma-api-key>with the access token you generated in Step 1:
{
  "mcpServers": {
    "figma-developer-mcp": {
      "command": "npx",
      "args": ["-y", "figma-developer-mcp", "--stdio"],
      "env": {
        "FIGMA_API_KEY": "<your-figma-api-key>"
      }
    }
  }
}
Paste your Figma access token in place of the <your-figma-api-key> placeholder to complete the setup of your Figma MCP server.
Using the Cursor MCP Figma Workflow
With the MCP server properly configured, you can now use Figma designs directly in Cursor's composer:
For optimal results with the Cursor MCP Figma workflow:
- Link to specific frames or groups within your Figma files
- Use
CMD + Lin Figma to copy a link to a selected element - Alternatively, right-click and select "Copy Link" from the context menu
Paste the Figma link in Cursor's composer and describe what you want to implement. The Cursor MCP will handle the rest!
Real Example: Create a Portfolio Website Using Cursor MCP and Figma
Want to see the true power of the Figma-Cursor MCP integration? Let's create a complete portfolio website from a Figma template in just minutes!
Step 1: Open the Portfolio Template in Figma
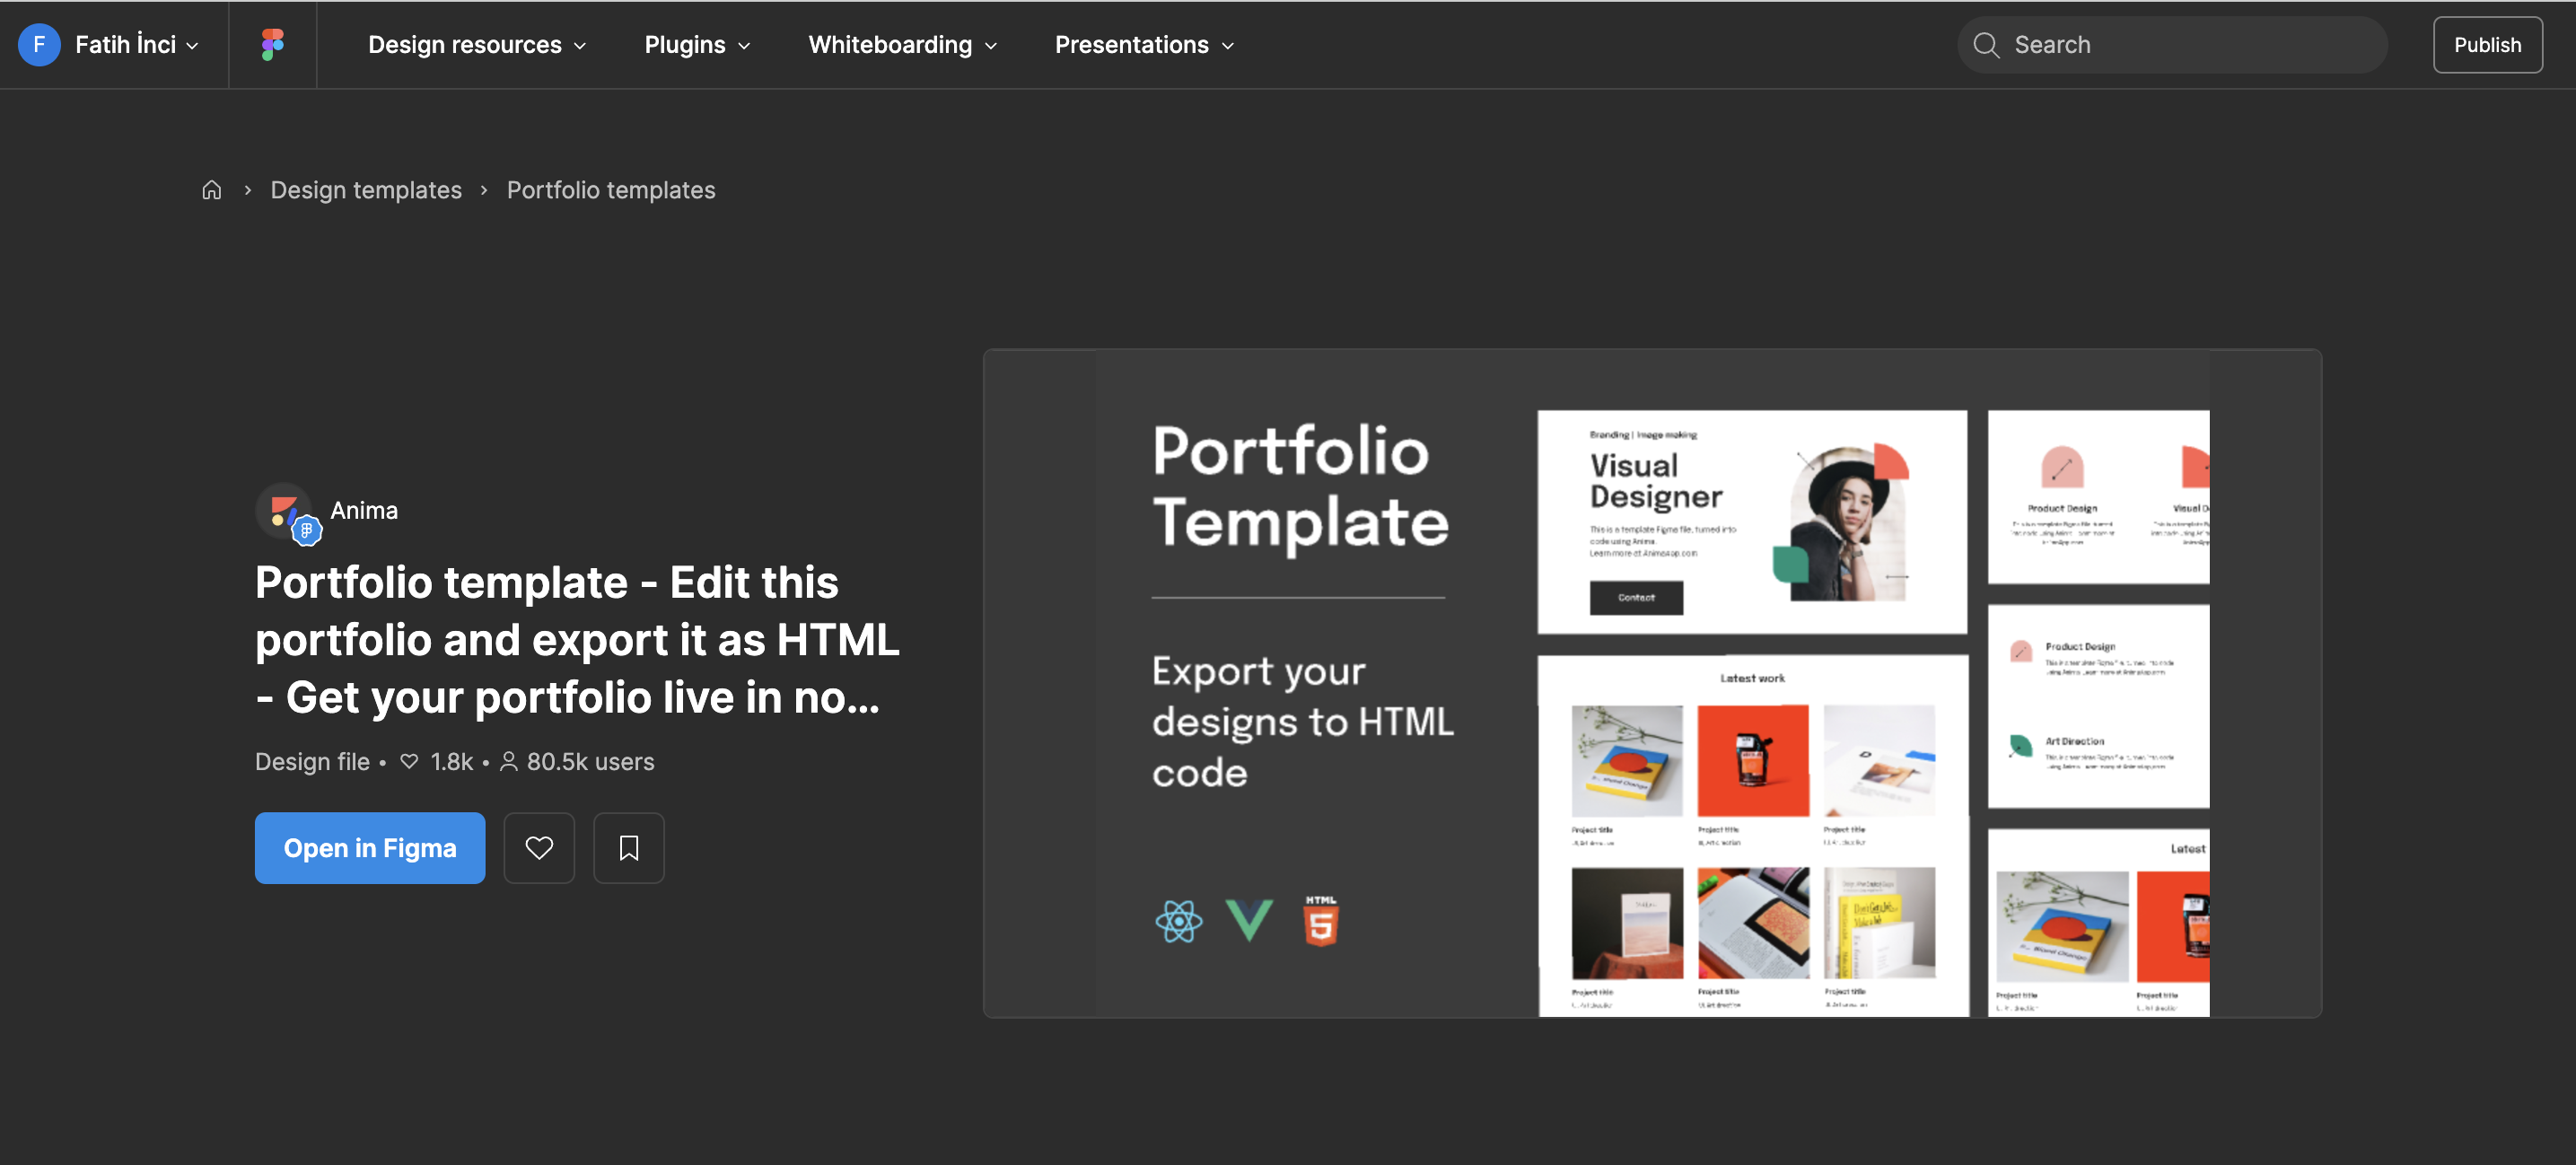
Visit this Portfolio Template and click the "Open in Figma" button to add it to your Figma workspace.
Step 2: Copy the Link to the Frame
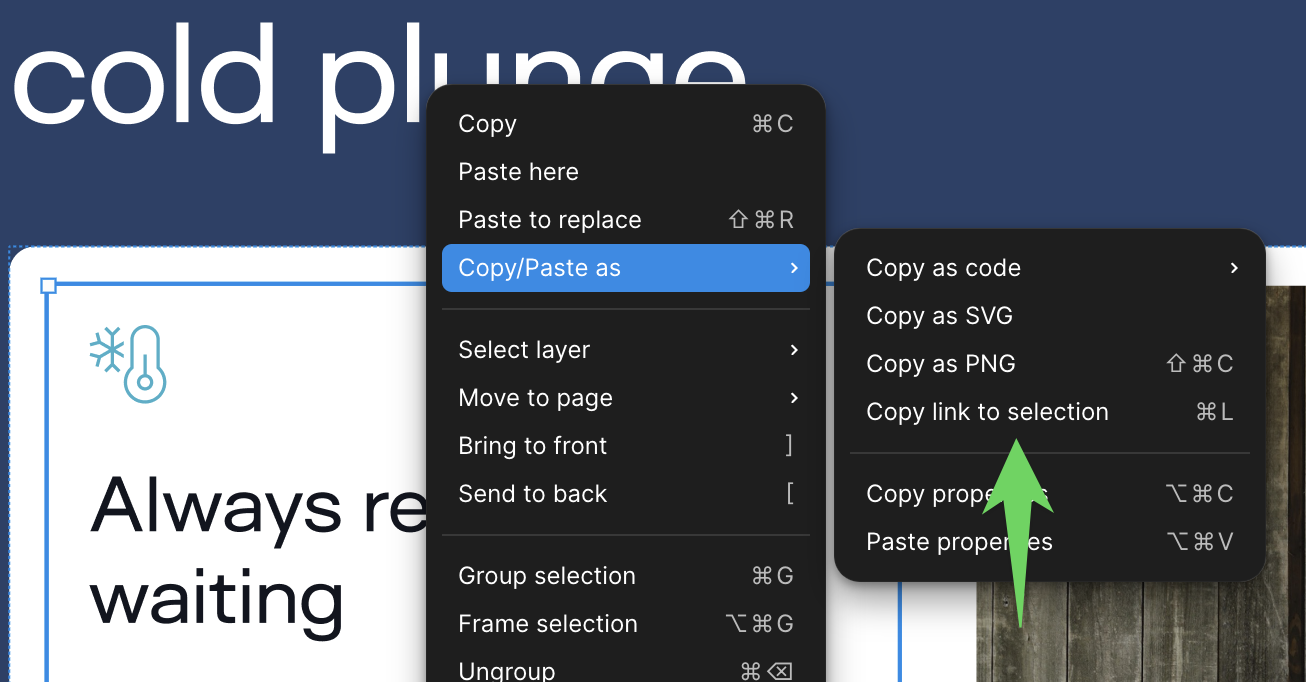
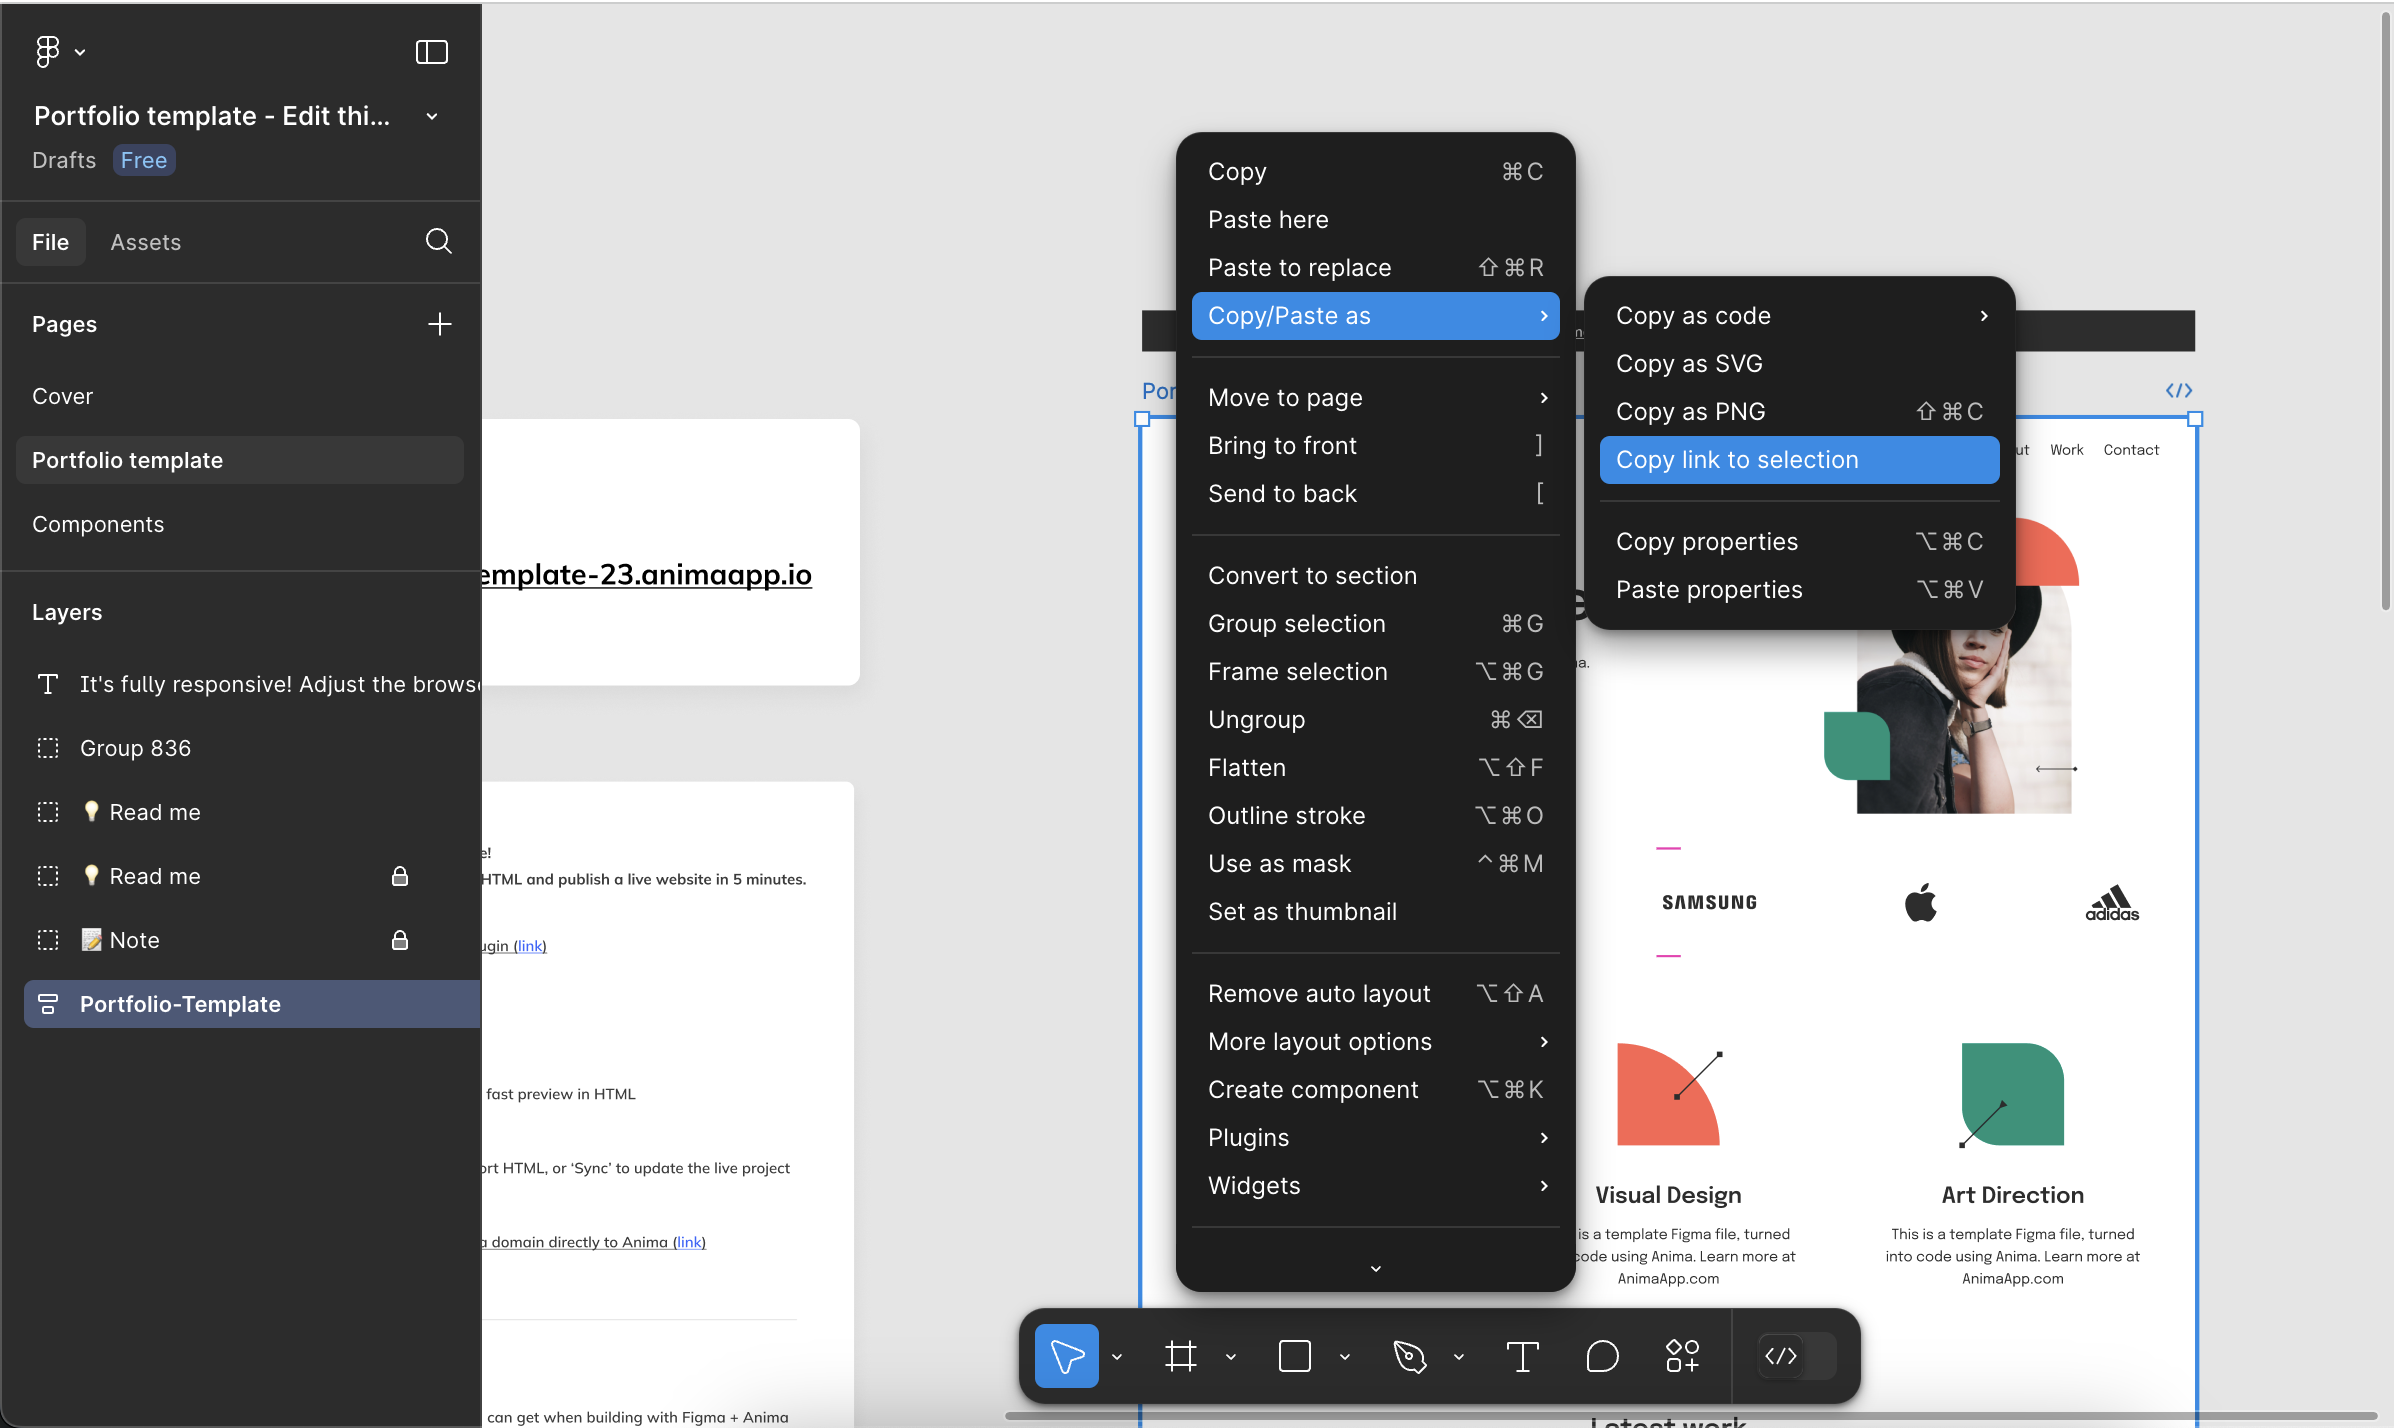
- Navigate to the "Portfolio Template" page in the Figma file
- Right-click on the main frame of the portfolio design
- Select "Copy/Paste as" → "Copy link to selection"
Step 3: Generate HTML with Cursor MCP
- Open Cursor and make sure you're in agent mode
- Paste the copied Figma link in the composer
- Ask Cursor to "write html" for the portfolio design
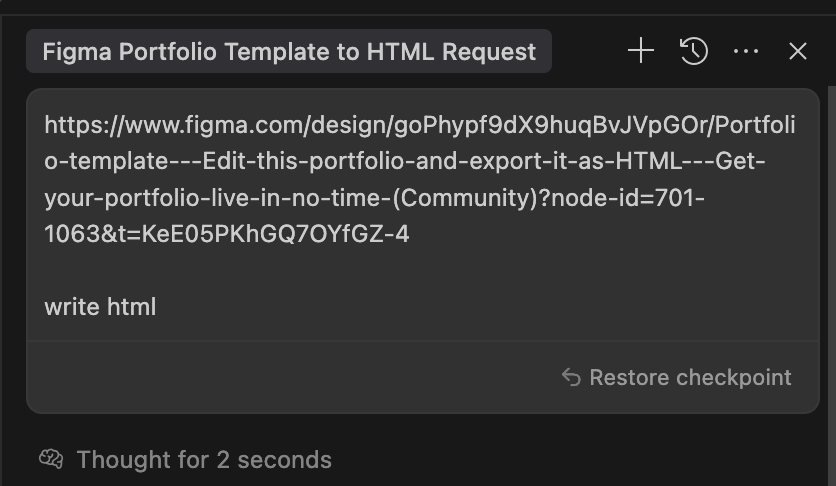
That's it! The Cursor MCP will automatically generate a complete HTML website based on the Figma design. Here's what makes the Cursor MCP Figma workflow so impressive:
- Cursor MCP automatically downloads all images from the Figma design to your local directory
- It adds proper Google Font imports for typography used in the Figma design
- The layout is responsive and matches the Figma design with high fidelity
- All styling is done with clean, readable CSS that perfectly represents the Figma design
HTML Preview (View full code ↗)
Interactive example of the generated portfolio website from Figma
You can view the full HTML code directly to see exactly how the Cursor MCP translates complex Figma designs into clean, structured HTML and CSS with proper styling, layout, and responsiveness.
Advanced Figma MCP Server Tools in Cursor
The Figma MCP integration in Cursor provides two powerful tools:
get_figma_data
This tool retrieves comprehensive information about a Figma file or node through the MCP server.
Parameters:
fileKey(string): The unique identifier for the Figma filenodeId(string, optional): The specific node ID to retrievedepth(number, optional): Controls how many levels of the node tree to return
download_figma_images
This tool downloads SVG and PNG images used in a Figma file via the MCP server.
Parameters:
fileKey(string): The Figma file's unique identifiernodes(array): The nodes to fetch as imageslocalPath(string): Path to store downloaded images
Expert Tips for the Cursor MCP Figma Workflow
To get the most out of the Cursor MCP Figma integration:
- Link to specific elements: Always link to specific frames or components rather than entire Figma files
- Provide clear instructions: Tell Cursor exactly what you want it to implement from the Figma design
- Organize your Figma files: Well-structured, properly named design elements yield better results with the MCP server
- Use design system components: Figma designs using consistent components translate more accurately in Cursor
- Specify your technology stack: Mention your preferred framework for better-targeted code generation by the Cursor MCP
Based on My Experience: Real-World Benefits of Cursor MCP Figma Integration
After using the Cursor MCP Figma integration for several months across multiple projects, I've observed significant improvements in my development workflow:
Productivity Boost Beyond Expectations
In my experience, the time savings are substantial. What previously took 3-4 hours of manual coding now takes about 10-15 minutes with the Cursor MCP Figma integration. For a recent dashboard project, I was able to implement 8 complex UI components in a single afternoon—work that would have typically taken 2-3 days.
Fewer Revision Cycles
Before using the Cursor MCP Figma workflow, I would typically go through 4-5 rounds of revisions with designers to get the implementation right. Now, we rarely need more than one revision cycle, as the initial code generated by Cursor MCP is remarkably accurate to the Figma designs.
Framework Flexibility
I've tested the Cursor MCP Figma integration with various frameworks including React, Vue, and even Svelte. The code quality remains consistently high across all of them. I found that adding a simple prefix like "Create a React component..." or "Generate Svelte code..." produced excellent framework-specific implementations.
Learning Opportunity
An unexpected benefit I discovered is how much you can learn from the generated code. The Cursor MCP often implements clever CSS solutions and efficient component structures that have actually improved my own coding practices, especially for complex layouts and responsive designs.
Best Use Cases From My Experience
Based on months of usage, I've found the Cursor MCP Figma integration especially valuable for:
- Complex layouts: Tables, dashboards, and grid-based interfaces are generated with exceptional accuracy
- Form implementations: Cursor creates well-structured forms with proper validation scaffolding
- Responsive components: The responsive behavior coded by Cursor often handles edge cases I might have missed
- Design system implementation: Converting Figma component libraries into code libraries is remarkably efficient
Of course, there's still value in manually coding certain elements, particularly for highly interactive components or those requiring complex state management. But even then, having Cursor generate the initial structure saves considerable time.